Power BI Report Page
As a Power BI Report Developer, having a good understanding of Power BI Page settings will help you design better reports. What can you do if you need more space on your report page without necessarily reducing the size of the visuals? How will you enable a scrollable Power BI page if you need to?
I covered some mathematics of the Power BI Report Canvas in the Part 1 of this article. You may want to check that out and I have the link at the end of this post.
In this piece, I will quickly explain how to increase the size of your Power BI Canvas and how to enable scrolling within your Power BI Canvas.
The 2 Places to manage page settings
First, let me explain the tools of the trade.
There are 2 places to set the size and presentation settings of Power BI Canvas.
- The View Tab
- The Visualization Pane
View Tab Settings
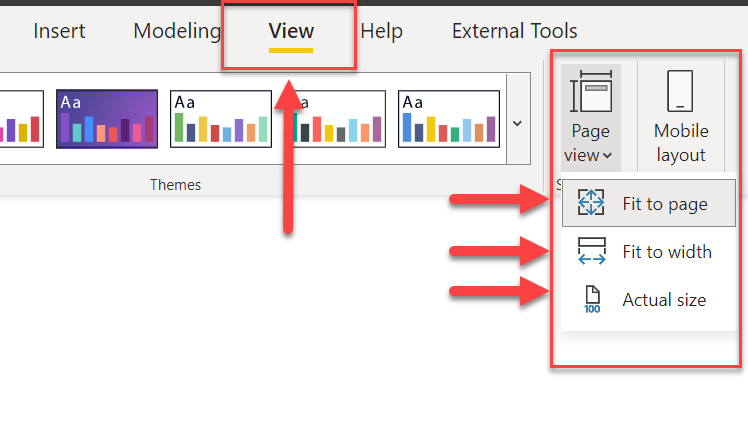
In the View Tab, we can set how our page will be presented from the Page View dropdown. And we can choose from one of three options below:
- Fit to Page – this means whatever page size we use, all the objects in the report will be compressed to fit to that page size.
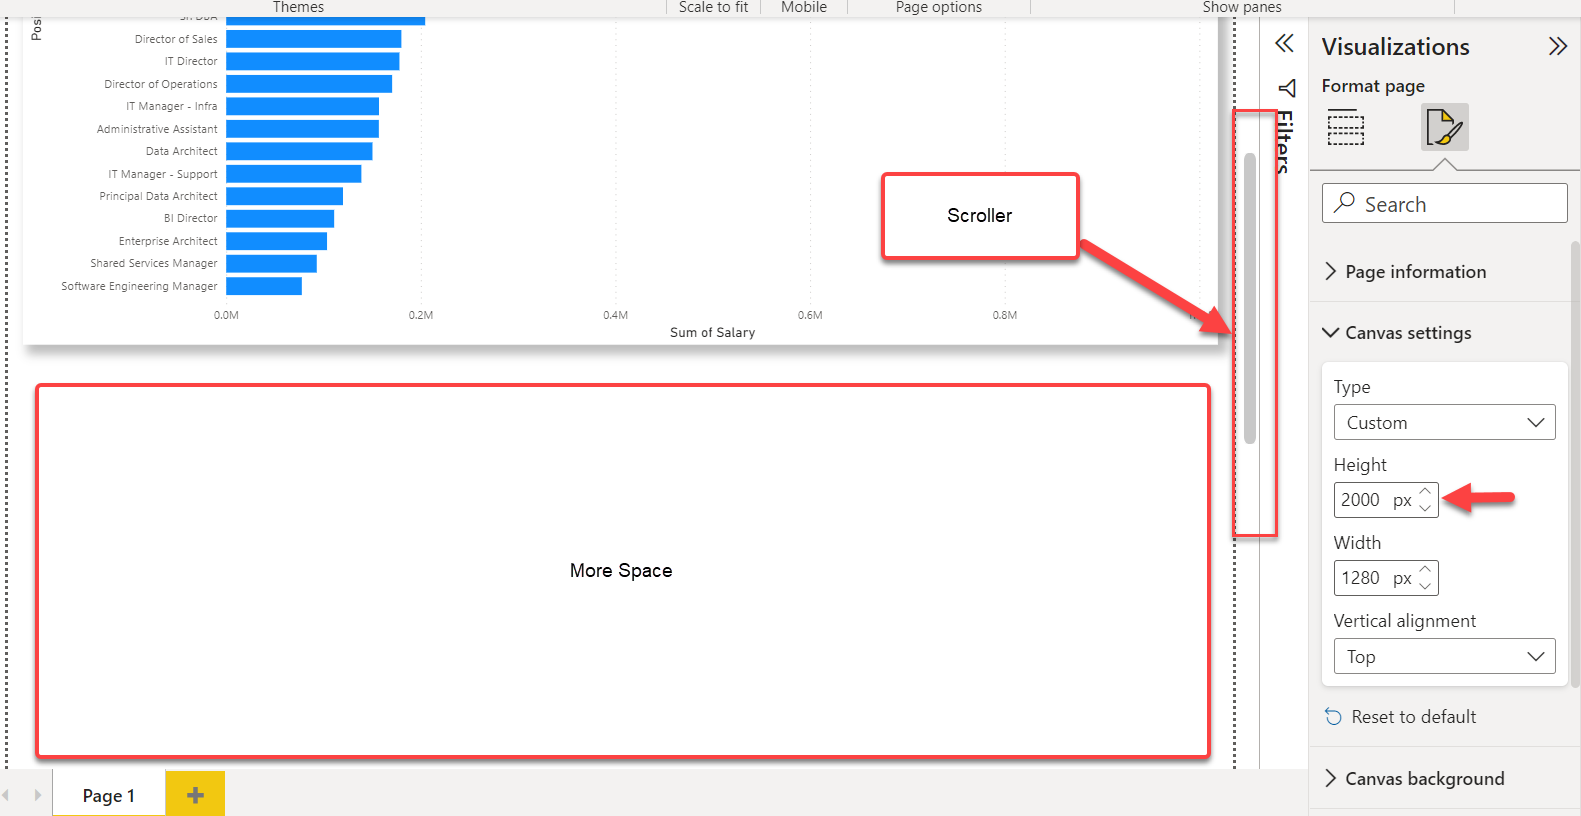
- Fit to Width – this means, the width set for the report page size will be fixed, therefore allowing the report page to have more space at the bottom. Provided that we increase the height of the page.
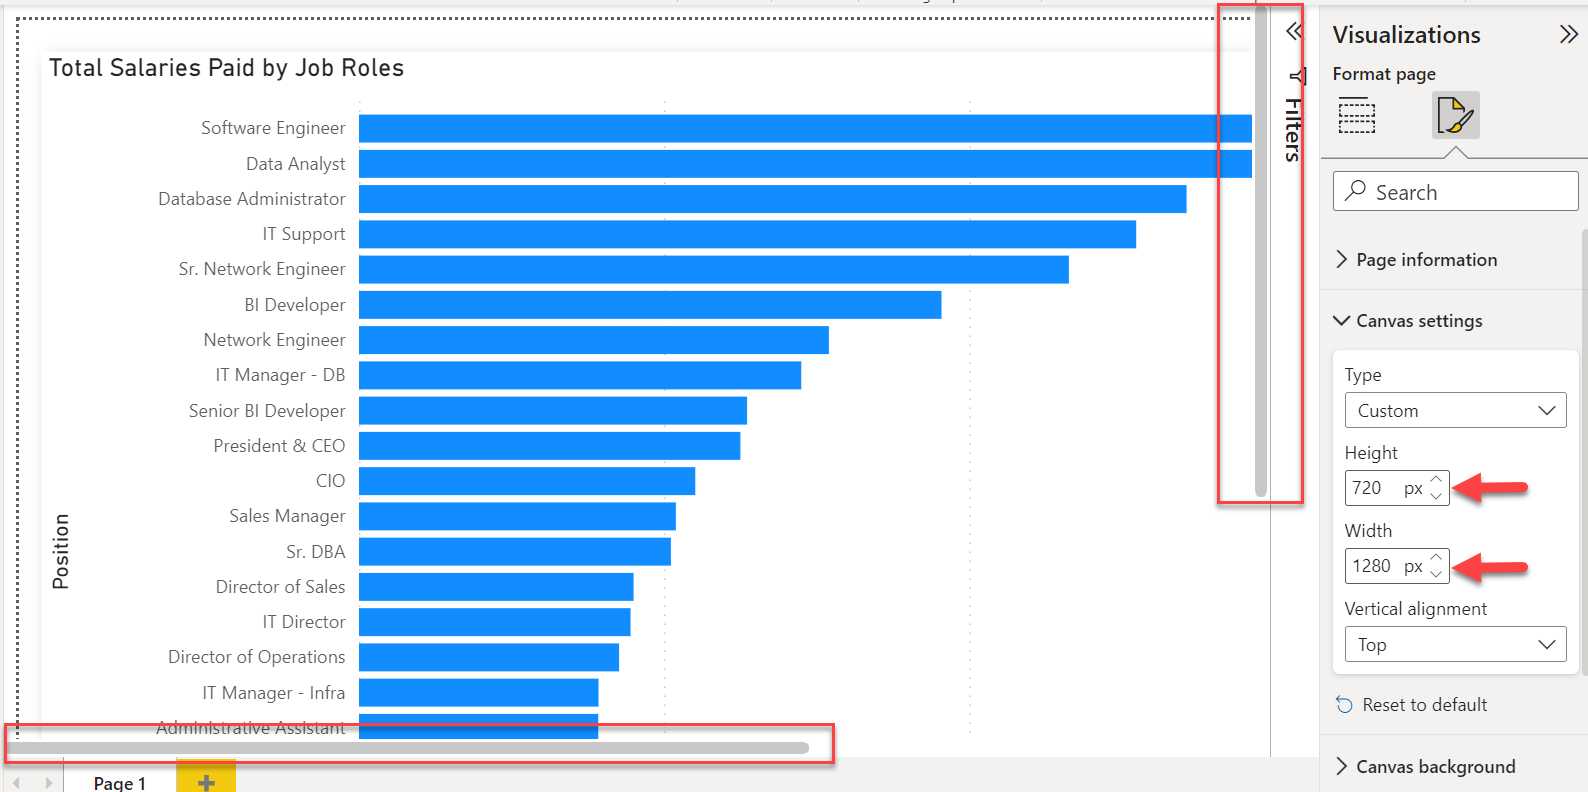
- Actual Size – this means, the width and height size of the Canvas will be displayed as configured, therefore allowing room for scrolling left to right and scrolling up to down.
Visualization Pane Settings
In the Visualization Pane, among other things, we can set the size of our report page Canvas. In terms of length and width. Remember Perimeter? You have to note that this can be done only when you don’t have a visual selected on the report page.
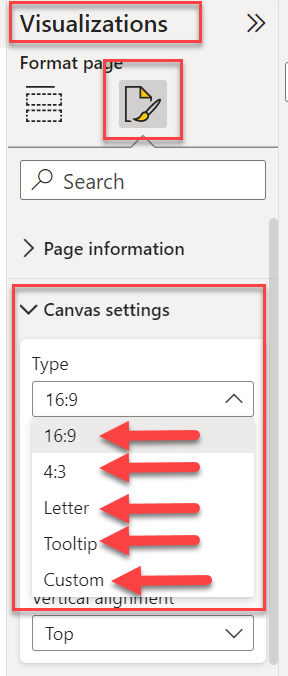
There are 4 options by default, with a Custom option to make it 5.
- 16:9 – this is the default resolution for most modern screens (Laptops, TVs). The height is 720px and the width is 1280px. A report configured on 16:9 will display well on most screens.
- 4:3 – this is an older type of resolution for older screens. The height is 720px and the width is 960px. A report configured on a 4:3 and displayed on most screens today (that are 16:9) will look like the movie below.
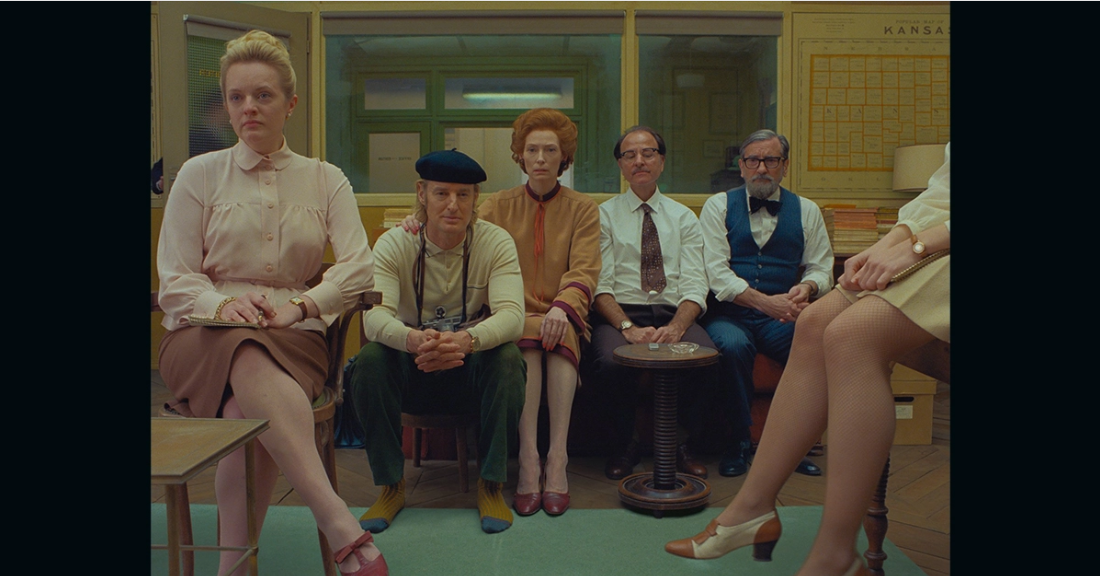 But it will display well on a screen like the one below.
- Letter – this view for me, is the best when you want to print out your Power BI reports on paper. A4 paper. The height is 1056px and the width is 816px
- Tool tip – a very small Canvas size that is mostly used to render visuals that are used as tooltips in other report pages. The height is 240px and the width is 320px
- Custom – this allows you to set the length and width to any size you want.
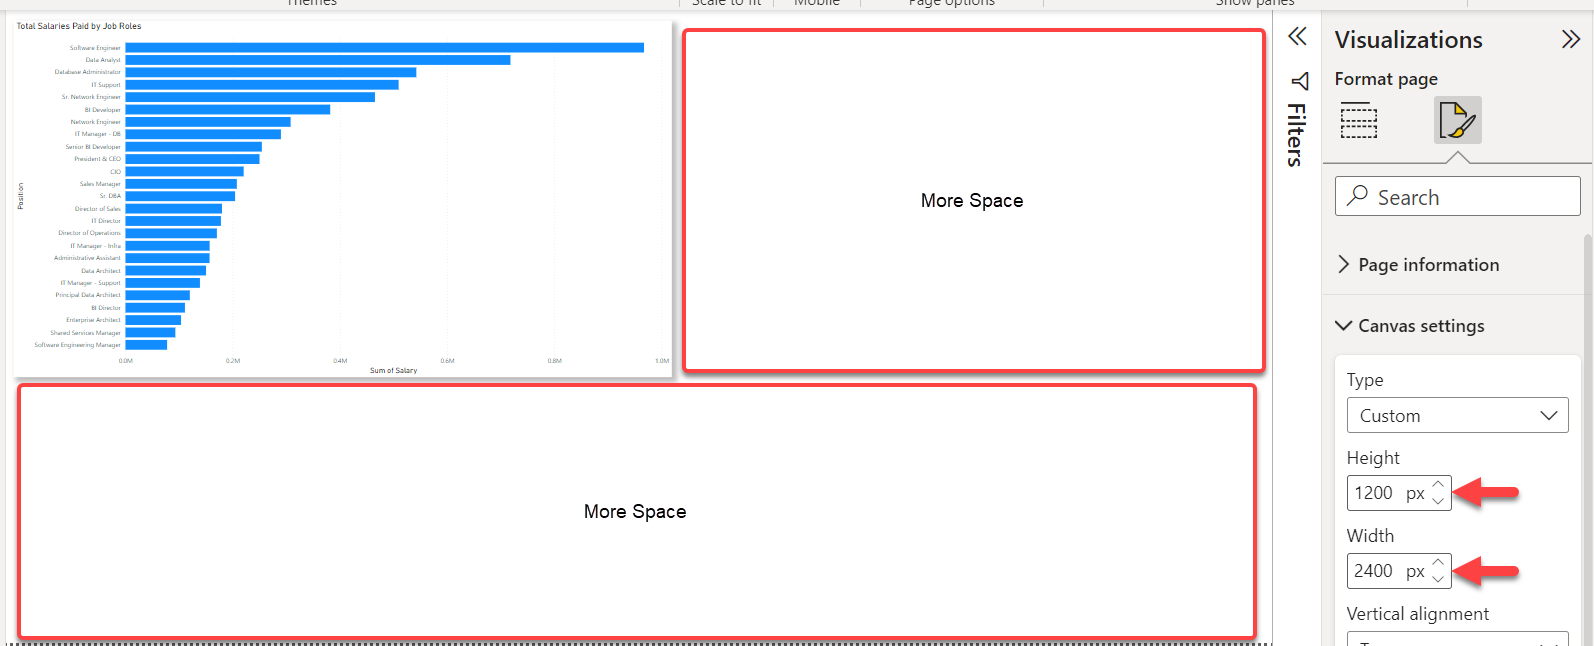
Starting from any of the previous 4 you had selected before choosing custom. You will be able to customize the height and width. And this represents the key to enabling scrolling on our report canvas.
How to configure Page size for common requirements
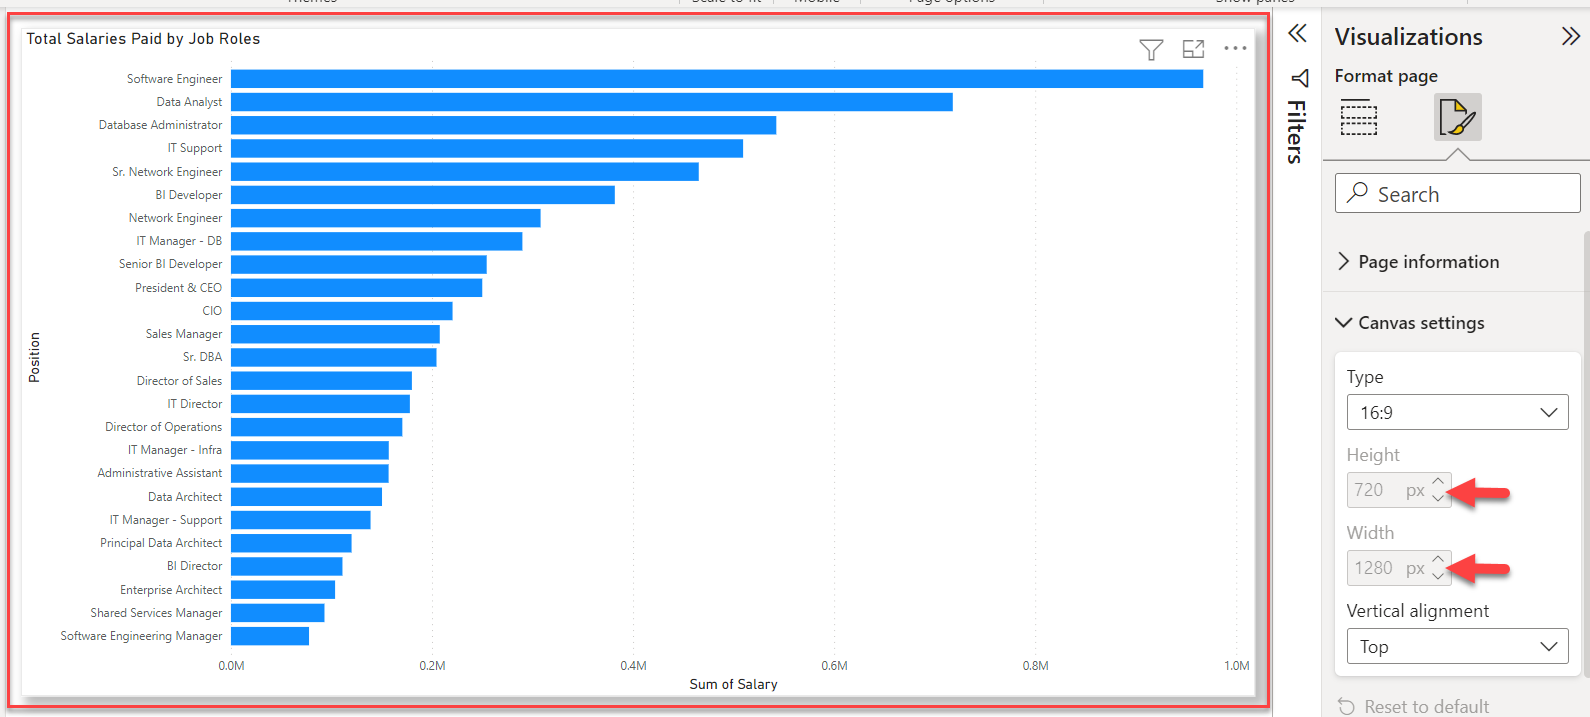
Assuming a default Power BI report page view of Fit to Page and Canvas Size of 16:9 (720px height by 1280px width) and 1 visual covering the entire Canvas space as displayed below:
Let’s see how to change things, getting more space, enabling scrolling etc.
You need more space for more visuals without enabling scrolling:
You want more space and enable top to bottom scrolling
You want to enable left to right and/or top to bottom scrolling
Conclusion
Though, you are able to adjust page sizes and enable different types of page scrolling effects by altering the Page View and the Canvas Setting.
You may need to consider some of the mathematics involved by checking the Part of 1 of this article. This can allow you to know the commensurate width size you will need for every height increment you apply. Especially when you just need more space without enabling scrolling.

