Apart from DAX, the other tricky thing to work with in Power BI is Bookmarks.
And why not? Bookmarks infuse app-like functionalities in our reports. But we report developers are not wired to create apps. We are wired to clean messy data, build models, write DAX formulas and Visualize charts.
A lot of people find Bookmarks very confusing when the requirement is becoming much, and I’ll try to simplify it for you.
A Bookmark is a Bookmark. Something you use to mark pages in your book for ease of accessibility.
Bookmarks in Power BI
The purpose of Bookmarks in Power BI is similar to that of a book I described above.
However, the way it works in Power BI is, instead of marking pages, we mark States of report pages objects (Charts, Shapes, Images, Tables etc. Whatever you can have in a report page). States as in conditions. You can also think of this as like taking a snapshot, or taking a screenshot.
Before we dive into it, you must first understand that when you take snapshots of your page with Bookmarks in Power BI, you are capturing States or current Conditions of 3 things by default.
- Report objects: like Charts, Images, Shapes, Buttons etc
- Filters: like you have on Slicers, Filters Pane and report interactions
- Page Navigation: should the bookmark always go to the page where it was created?
Creating Bookmarks
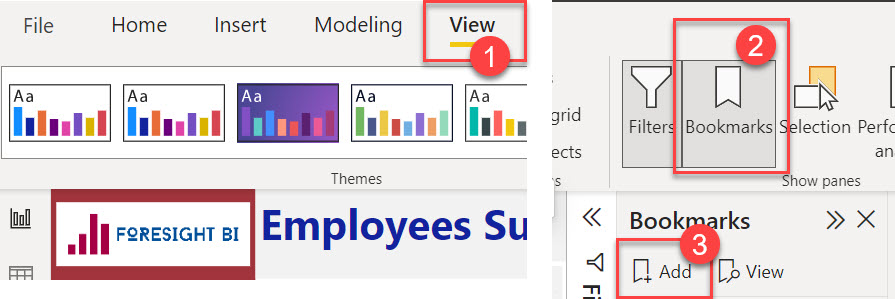
To create bookmarks, you need to follow the steps below:
- Go to View Tab
- Click on Bookmarks pane to enable it
- Click Add when you are ready to capture a state
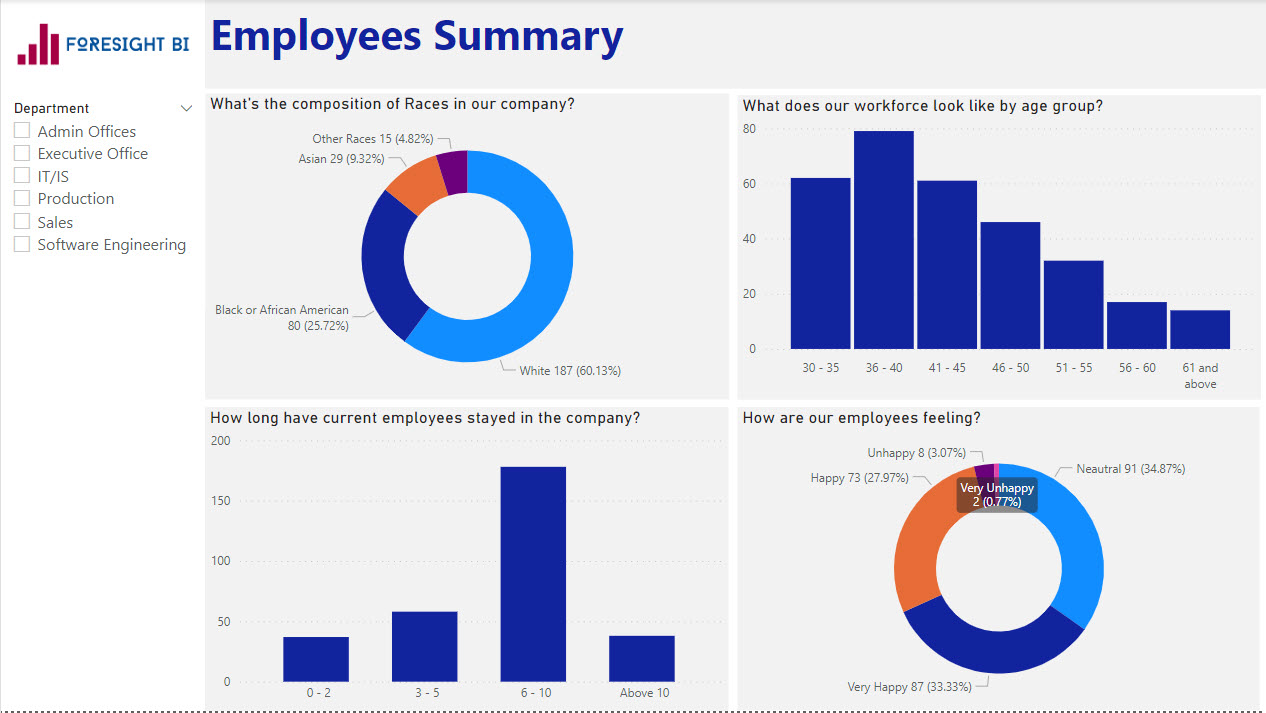
So, I have this report page below and I’ll follow the steps above to create a Bookmark OF THE CURRENT STATE OF THE REPORT.
After creating the bookmark, the default name for that bookmark will be Bookmark 1. Then when you create another one, you will have Bookmark 2, and so on.
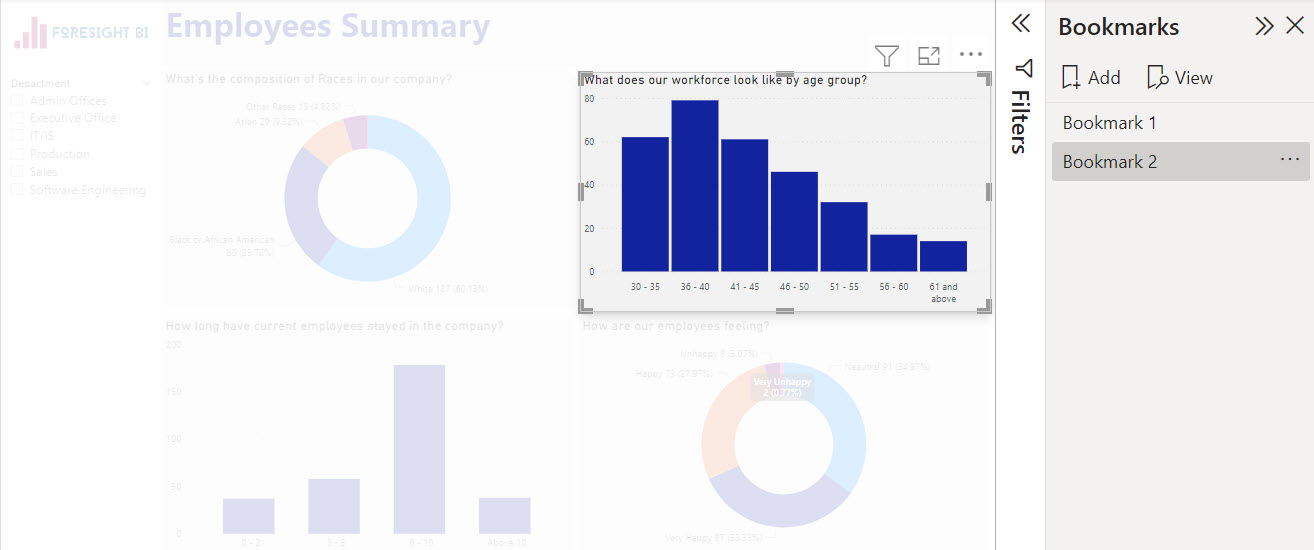
I am going to spotlight one of the Visuals by clicking on the Ellipses of the Visual and Select Spotlight.
Then I will click Add again from the Bookmarks pane to create a Bookmark OF THE CURRENT STATE (WITH THE VISUAL IN SPOTLIGHT MODE)
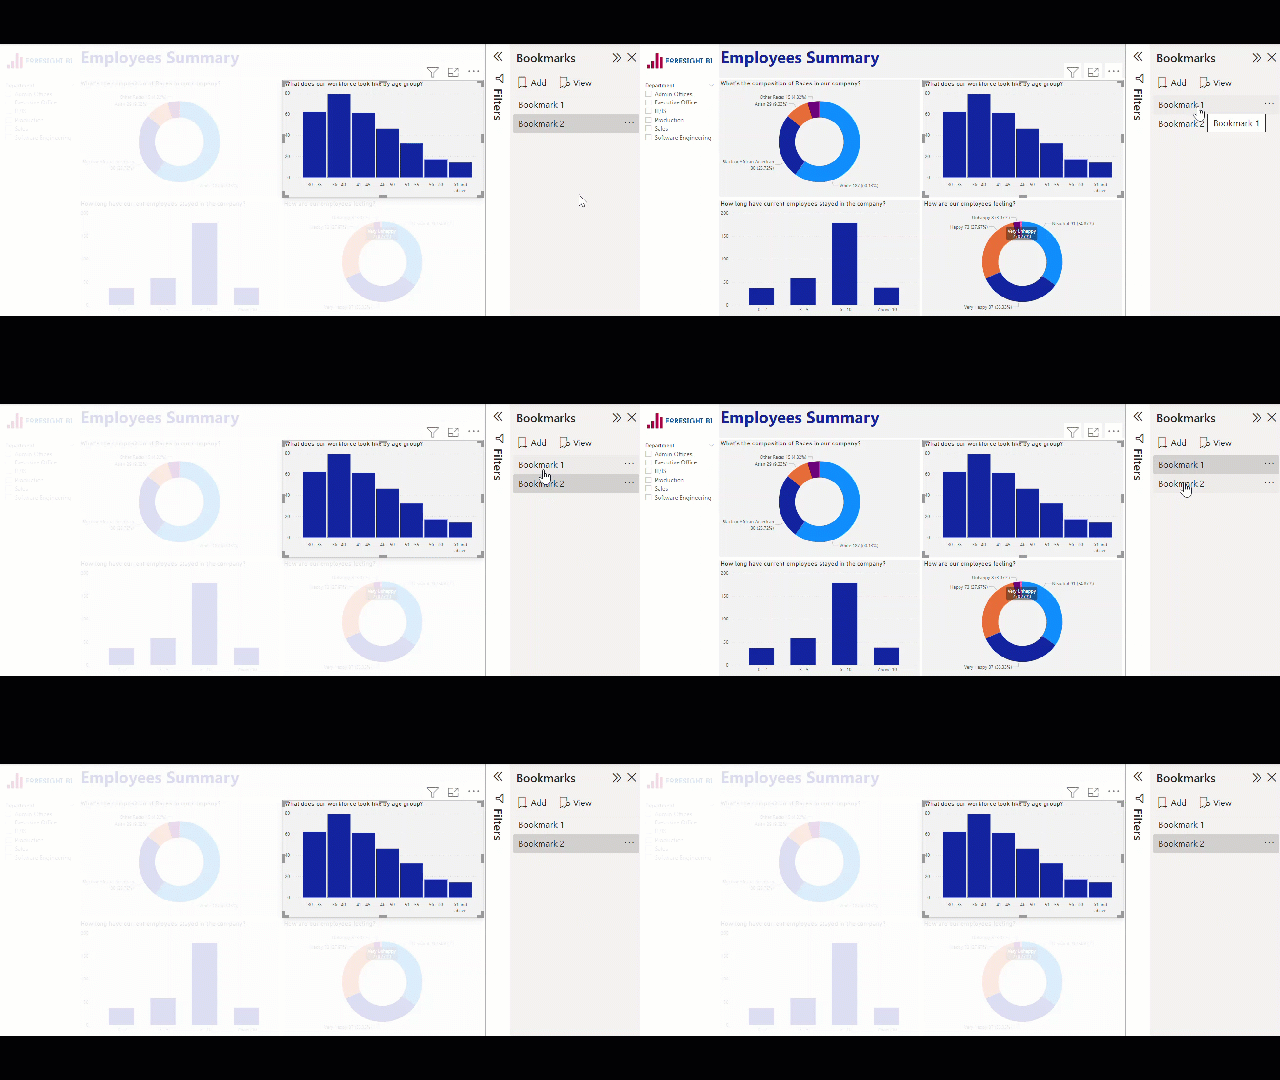
I’ll be able to click on the names of the Bookmarks I have created to view them manually. Though, this is not the usual way of interacting with Bookmarks.
You can rename a Bookmark by double clicking on the name of the bookmark and editing the text to give them more meaningful names.
Concluding Part 1
Now, you know the basics of creating bookmarks and as you will agree with me, it’s just simple and straight forward.
But things change very fast when there is a complex bookmark required to satisfy some Reporting User Experience.
At that point, you will need to know how to Edit Bookmarks and understand the different sections of Bookmarks editing and what they mean.
You can check out this Youtube video for example to get a taste of this. But don’t just watch, also subscribe to the channel and activate the notification bell.
In the next part, I will describe the different components of Bookmarks. Understanding the components is key to creating and editing complex bookmarks. Any sweet Power BI user experience delivered with Bookmarks is complex!
You can read more about Bookmarks from Microsoft Documentation Here.


